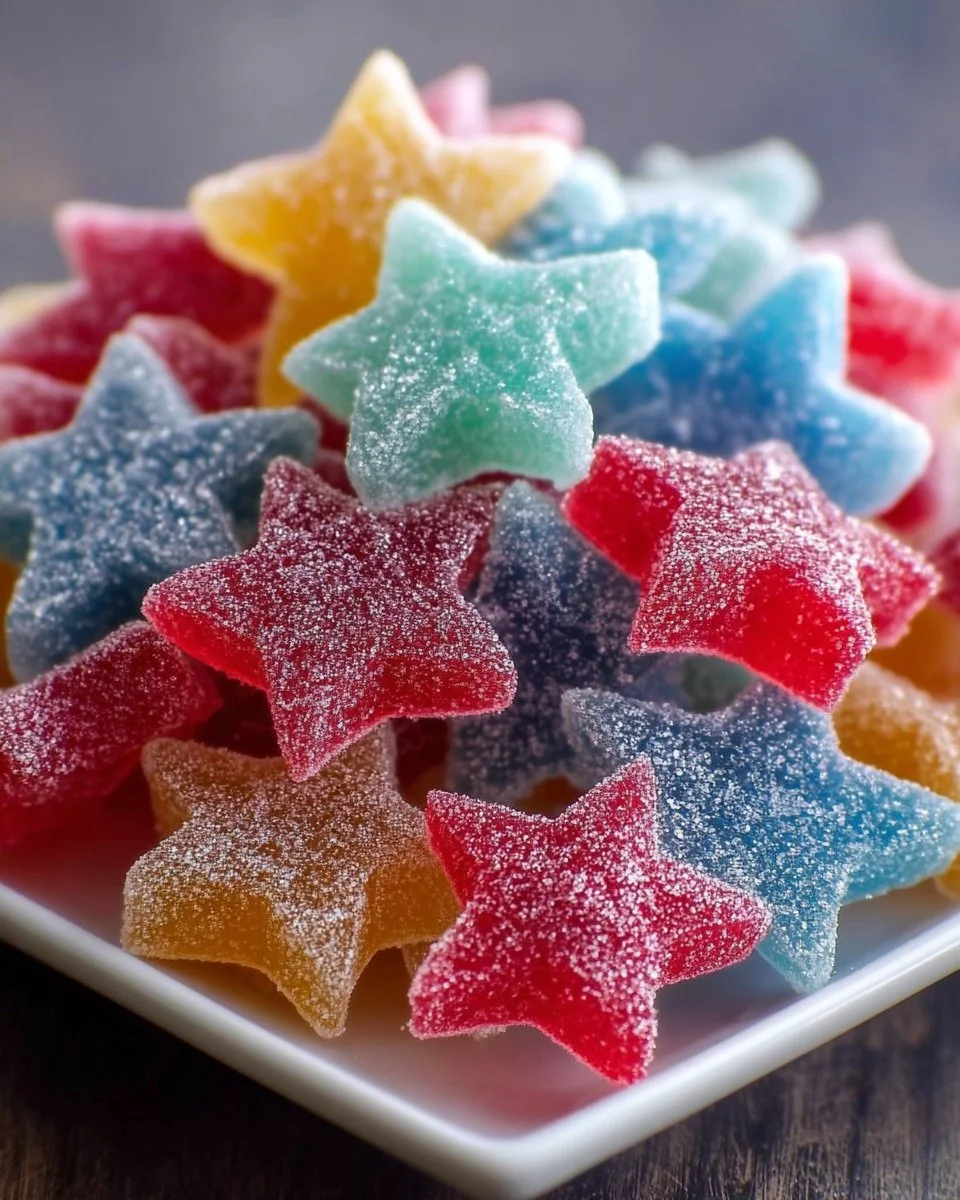
The air tingles with a sweet, sugary aroma that fills the kitchen and dances through every corner of the home. Sunlight streams through the windows, refracting off shimmering candy creations that glisten as if kissed by starlight. Here, joy bubbles like a hot pot on the stove, and laughter intermingles with the gentle crackle of sugar heating to perfection. You step back to admire your work, a cascade of colorful stars twinkling enticingly, and can barely wait to sink your teeth into these vibrant Sweet Stars and Spangled Candies.
Bright and bold, these delightful confections embody the joyous spirit of celebration. Each piece carries a unique flavor burst—think zesty citrus or sweet cherry—while the satisfying crunch beckons you to indulge again and again. The texture captures the essence of childhood nostalgia, reminiscent of sunny days at fairs and summer picnics, where every bite encapsulates a piece of unadulterated happiness. Whether you’re whipping them up for a festive gathering, a holiday treat, or simply to delight your friends and family, these candies promise to sprinkle joy on any occasion.
Why You’ll Love This Sweet Stars and Spangled Candies
If you’re searching for a whimsical treat that oozes joy and festivity, look no further than Sweet Stars and Spangled Candies. These eye-catching beauties not only elevate any dessert table with their captivating appearance, but they also offer an explosion of flavors that will dazzle your palate. Their cheerful colors and playful shapes entice both the young and the young-at-heart.
Aside from their stunning beauty, these candies provide a delightful crunch paired with a burst of flavor, making them irresistible. The sheer versatility of flavors allows you to tailor your sweets to suit any preference—whether you crave something fruity, citrusy, or even a touch of something nutty. Perfect for birthdays, holidays, or any gathering where laughter and joy reign, these delectable treats double as a lovely party favor or a sweet handmade gift.
Preparation Phase & Tools to Use
Creating your own Sweet Stars and Spangled Candies is not only a delectable endeavor but a fun and memorable experience, particularly when you have the right tools at your disposal. Here is a quick rundown of what you’ll need:
- Heavy-Bottomed Saucepan: This tool ensures even heat distribution, preventing your sugar mix from scorching.
- Candy Thermometer: Precision is critical for candy making. The right temperature guarantees the perfect “hard crack” stage, essential for that satisfying crunch.
- Greased Baking Sheet or Silicone Mat: To pour the molten candy onto for cooling, a non-stick surface is key. Silicone mats prevent sticking and make cleanup a breeze.
- Cookie Cutters: Star shapes elevate your creations, making them whimsical and inviting.
- Spatula: Use this to ensure all sugar dissolves and your mixture comes together perfectly.
To prepare successfully, keep your ingredients close and organized. Candies require quick actions, so measure out your sugar, corn syrup, and water beforehand. This simple step saves time and avoids mishaps as you whisk your way through this sweet adventure.
Ingredients for Sweet Stars and Spangled Candies
- 1 cup granulated sugar: This sweet base creates the foundation for your candies.
- 1/2 cup corn syrup: The key to a smooth texture and prevents crystallization.
- 1/4 cup water: Hydrates the sugar, allowing for a proper boil.
- 1/2 teaspoon flavoring extract (e.g., cherry, raspberry, citrus): Infuse a burst of delightful flavor into your candies.
- Food coloring (various colors): Brightens your stars and makes them visually stunning.
- Powdered sugar (for dusting): Prevents the candies from sticking together.
Feel free to experiment with different extracts or even try an infusion of spices like cinnamon or nutmeg for a unique twist. If you’re looking for a healthier or alternative sweetener option, consider using agave syrup or honey, though you may need to adjust the water content.
How to Make Sweet Stars and Spangled Candies
- In a heavy-bottomed saucepan over medium heat, combine the granulated sugar, corn syrup, and water. Stir gently until the sugar dissolves completely, ensuring no granules remain.
- Allow the mixture to come to a gentle boil without stirring. Keep a keen eye on the candy thermometer nestled in the pot, as the temperature is everything in this sweet endeavor!
- Monitor closely until the thermometer hits 300°F, the crucial hard crack stage. This step requires patience, as rushing can lead to a chewy texture rather than that satisfying crunch.
- Remove from heat and stir in your chosen flavoring extract along with food coloring, stirring until the mixture is vibrant and aromatic.
- Carefully pour the molten candy onto your greased baking sheet or silicone mat. Allow it to cool for just a few minutes; it should be warm but manageable.
- Use star-shaped cookie cutters to cut out shapes while the candy is still pliable, but do so quickly before it sets!
- Once shaped, dust each star with powdered sugar to prevent sticking and let them set completely—this is the hardest part, but the result is worth the wait!
Chef’s Notes & Helpful Tips
- Make-ahead tips: These candies can stay fresh for weeks if stored improperly. Consider making them a week in advance for parties or holiday events.
- Cooking alternatives: If you’re short on time, consider experimenting with a microwave for melting sugar, though traditional methods yield the best results.
- Customization ideas: Play around with flavors! Blend extracts or create layers of flavors by coloring sections of melted candy differently before cutting. Add edible glitter for an extra festive sparkle!
Common Mistakes to Avoid
- Not watching the temperature: Candy-making is a science; slight variations in temperature can lead to disasters. Keep that thermometer handy and ensure accuracy.
- Stirring too much while boiling: Excessive stirring can cause the sugar to crystallize, leading to a grainy texture. Allow it to bubble gracefully.
- Cutting too late: Working quickly with shaped candies is essential; once cooled too much, you’ll lose the pliability necessary to cut those beautiful stars.
What to Serve With Sweet Stars and Spangled Candies
Enhance your candy experience by serving them with delightful pairings that play off their sweetness. Consider these options:
- Sparkling Lemonade: A zesty drink provides a refreshing contrast and complements the fruity flavors of the candies.
- Ice Cream: Spoon these candies over a creamy vanilla scoop for a delightful textural contrast.
- Fruit Platter: Pair with fresh berries or citrus slices to balance the sweetness with tartness.
- Party Snack Mixes: Toss these candies into a festive trail mix for a surprise treat among savory bites.
- Brownies or Blondies: Use as a topping for decadent, fudgy textures that marry beautifully with the crunch of your Sweet Stars.
- Chocolate Dipped Pretzels: The salty crunch of pretzels juxtaposes perfectly with the sweet candy.
Storage & Reheating Instructions
To maintain the candy’s allure, store it in an airtight container in a cool, dry place. This ensures longevity and preserves that lovely crunch. For extended life, you can also keep them in the fridge or even the freezer. If you find your candies have softened, simply allow them to sit at room temperature for a few minutes to regain their delightful snap.
Estimated Nutrition Information
Approximate values per serving (2 pieces):
- Calories: 135
- Fat: 0g
- Carbohydrates: 35g
- Sugars: 30g
- Protein: <1g
Keep in mind that exact values can vary based on ingredients used and portion sizes.
FAQs
-
Can I use other shapes instead of stars?
Yes! You can use any cookie cutter shape you desire, making these candies perfect for various occasions, such as hearts for Valentine’s Day or pumpkins for Halloween. -
How can I fix grainy candy?
If your mixture crystallizes, you can try reheating it gently with a splash of water and stirring until it all re-dissolves. But prevention is key; always keep a close watch on the sugar mixture while boiling. -
What flavor options work best?
The beauty of this recipe lies in its flexibility. Citrus flavors like lemon and lime offer brightness, while floral notes like lavender can create an elegant touch. Try experimenting with various extracts based on your preferences! -
Can I add food-safe glitter or sprinkles?
Absolutely! Dusting your candies with edible glitter or colored sprinkles not only adds sparkle but makes them even more festive and fun. -
Why did my candy not set properly?
If your candy doesn’t set, it’s likely that it didn’t reach the 300°F temperature needed for the hard crack stage. Make sure to use a well-calibrated candy thermometer next time!
Conclusion
Sweet Stars and Spangled Candies are far more than just a treat; they unfold a joyful experience in every colorful bite. Their crunch, delightful flavor, and visual appeal create an unforgettable sweet moment that you can share with family and friends. As you embark on this candy-making adventure, pour your heart into each step and watch as they transform from simple ingredients into beautiful expressions of celebration. Create these morsels of joy and let the sugary sparkle bring smiles to everyone around you!
Print
Sweet Stars and Spangled Candies
- Prep Time: 15 minutes
- Cook Time: 20 minutes
- Total Time: 35 minutes
- Yield: 12 servings 1x
- Category: Dessert
- Method: Candy Making
- Cuisine: American
- Diet: Vegetarian
Description
Bright and bold, these delightful confections embody the joyous spirit of celebration with unique flavor bursts and satisfying crunch.
Ingredients
- 1 cup granulated sugar
- 1/2 cup corn syrup
- 1/4 cup water
- 1/2 teaspoon flavoring extract (e.g., cherry, raspberry, citrus)
- Food coloring (various colors)
- Powdered sugar (for dusting)
Instructions
- Combine the granulated sugar, corn syrup, and water in a heavy-bottomed saucepan over medium heat. Stir gently until the sugar dissolves completely.
- Allow the mixture to come to a gentle boil without stirring. Monitor the candy thermometer closely.
- Monitor until the thermometer hits 300°F for the hard crack stage.
- Remove from heat and stir in your chosen flavoring extract and food coloring.
- Carefully pour the molten candy onto your greased baking sheet or silicone mat.
- Cut out shapes with star-shaped cookie cutters while the candy is still pliable.
- Dust each star with powdered sugar and let them set completely.
Notes
These candies can be made a week in advance and stored in an airtight container. Experiment with flavors and shapes for variety.
Nutrition
- Serving Size: 2 pieces
- Calories: 135
- Sugar: 30g
- Sodium: 5mg
- Fat: 0g
- Saturated Fat: 0g
- Unsaturated Fat: 0g
- Trans Fat: 0g
- Carbohydrates: 35g
- Fiber: 0g
- Protein: <1g
- Cholesterol: 0mg